|
When adding a new gizmo to a menu
in Nuke, I like to recycle the
existing icons so I can keep everything
thematically consistent. However, these
icons are buried inside Nuke’s install
directory, and I always forget exactly
where they live…
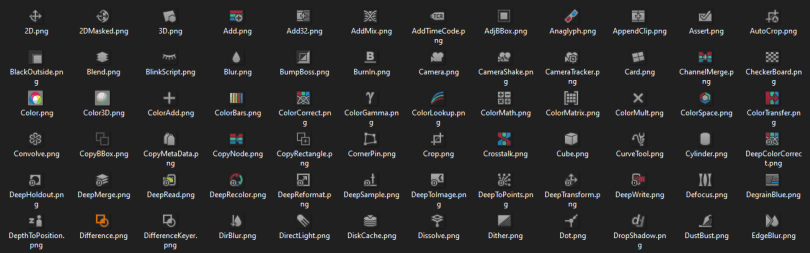
If you’re searching for Nuke’s default
icons, you can find them here:
Linux: <Your
studio’s Nuke install
directory>/plugins/icons
Windows: C:\Program
Files\Nuke12.1v4\plugins\icons
Mac: /Applications/Nuke12.1v4/Nuke12.1v4.app/Contents/MacOS/plugins/icons
(Note: On
Mac, you have to right-click
the .app file and choose
“Show Package Contents”.
Only the vanilla Nuke has
all the files, whereas other
installs such as NukeX,
non-commercial, etc. just
point to the vanilla
directory.)
 Don’t
forget: Nuke
relies on these icons to function
correctly, so if you’re modifying them
for your own use, make sure you work
with a copy outside of this folder. Don’t
forget: Nuke
relies on these icons to function
correctly, so if you’re modifying them
for your own use, make sure you work
with a copy outside of this folder.
However, if you just want to re-use
these icons as-is, you’re able to access
them programmatically by simply typing
the name of the icon file (which is
usually the same as the node’s name).
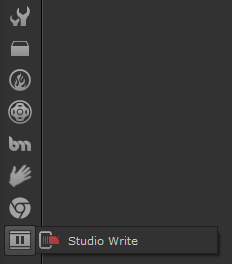
For example, we can create a new menu
using
the FrameHold icon,
and add an item to it that uses
the Write icon like
so:

Depending on the size & shape of the
icon you want to create, I’ve found
Rectangle, Constant and
StickyNote provide a clean
“background” to work with. Shuffle
and Add will provide you with some
nice RGB colour values.
|