Ben, how do I add icons to different areas in Nuke?
Icons are an incredibly useful design tool to enhance user experience and readability. In Nuke, we only see icons in the Nodes toolbar by default. However, there are other areas we can add icons to increase usability & Nuke script readability. In this tutorial, I'm going to show you five practical examples.
1. Add icons to node labels.
Using HTML's <img> tag, we can add an icon to a node's label. To use a default icon that comes with Nuke, you can simply type the node's name, followed by a .png file extension — let's add the Blur icon to a blur node:
1<img src="Blur.png" />
Alternatively, you can run a single line of Python in Nuke’s Script Editor to create an icon that sticks with the node’s zoom level in the node graph:
1nuke.selectedNode()['icon'].setValue("Blur.png")
Check out this page for a tutorial on where Nuke’s default icons are installed, so you can see the available icons, and what they are named.
2. Add icons to Backdrop Nodes.
Perhaps you’re building a template? You can add an icon to a BackdropNode’s label to add clarity for your team. You can adjust the size of the icon by tweaking the “width” or “height”.
1<img src="Blur.png" width="100" />
Nuke’s default icons have a small resolution of 24×24 pixels, and the SVGs included in newer versions of Nuke are not always representative of how the icons look within Nuke. However, we can always make our own icons with a greater resolution to fit our needs.
To make this easier, I have created an icon design toolkit for Nuke, that fits within Nuke’s built-in theme. As an example, I built a “key” icon, which I use within my standard keying template. It fits Nuke’s theme, and has enough resolution to appear crisp & sharp in the Node Graph, at a larger size on a 4K monitor.
![]()
Any custom icon that you create must be placed within a directory that Nuke recognizes when it loads. Those two locations are Nuke’s install directory (which you likely wont have access to in a studio environment), or your ~/.nuke directory. I like to put all my icons in an /icons subdirectory, which means I have to tell Nuke to load it. To do this, I can open my init.py and type nuke.pluginAddPath('./icons').
3. Add icons as floating images in a Nuke script.
We can add icons as floating images in our Node Graph by putting our HTML <img> tag in a StickyNote’s label, and colouring the StickyNote the same colour as the Node Graph. I’ve added a menu item in Nuke’s Edit menu via Python to automate this process for future use.
 1# Add this code to your menu.py.
 2
 3def create_gui_image(): # Get the filename of the image.
 4    img_path = nuke.getFilename("Path to Image") # Create a StickyNote node, set its colour to the Node Graph's Background Colour, # and add the HTML + image's filepath to the node's label.
 5    img = nuke.createNode('StickyNote')
 6    img.knob("tile_color").setValue(nuke.toNode('preferences').knob("DAGBackColor").value())
 7    img.knob('label').setValue("<img src='{x}' width='50'>".format(x=img_path))
 8
 9# Add a menu item to the Edit menu.
10nuke.menu('Nuke').addCommand('Edit/Display Image in Node Graph', 'create_gui_image()')
4. Add icons to a Gizmo’s UI.
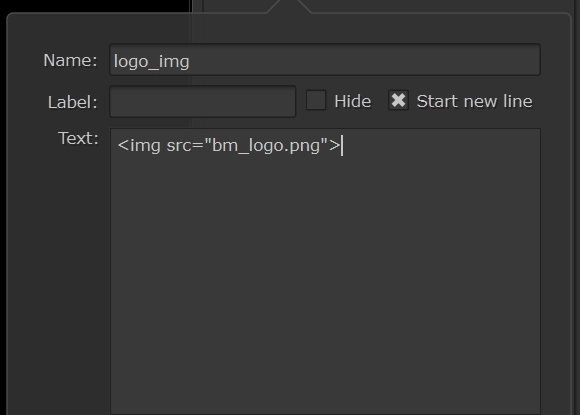
We can spice up our gizmos by adding icons to their UI. Once again, we’ll use the same HTML to add my logo to the top of one of my gizmos. Let’s create a new Text knob in the gizmo, change the name to be "logo_img", delete the label (as we don’t want any text to show), and add our HTML <img> tag into the text field: <img src="bm_logo.png">.

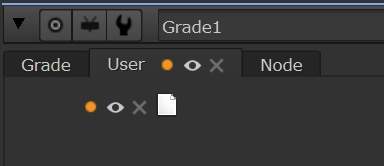
As you can see below, the icon is instead displaying as an image-not-found error — I have created this in Nuke 13.1v2, and there appears to be a bug where images don’t show unless they’re on a button.

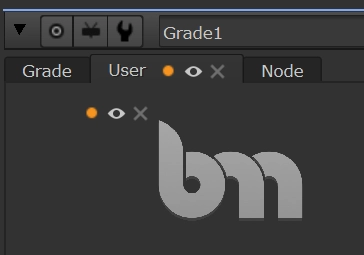
However, you can get the icon to display as expected if you hardcode the entire filepath:
<img src="C:/Users/benmc/.nuke/icons/bm_icon.png">

Be aware that when you share this gizmo with someone else, the image will not show unless you have saved the image to a directory on your studio’s network that everyone has access to…
You could even turn this image into a link to your website using HTML’s anchor element, like so:
<a href="https://www.benmcewan.com"><img src="C:/Users/benmc/.nuke/bm_logo.png"></a>
To learn more about HTML in Nuke, check out this tutorial.
5. Add icons to menus.
Lastly, if you’re adding new menu items to Nuke and want to add an icon to them, the process is a little bit different. Within the nuke python module, both the addMenu() and addCommand() functions include an icon argument.
For example, the following code snippet adds a custom menu to Nuke’s “Nodes” Toolbar, and adds my bm_OpticalGlow gizmo to that menu. Both have custom icons being added.
1# Add Menu with icon.
2benmcTools = nuke.menu('Nodes').addMenu('BenMc', icon="bm_icon.png")
3
4# Add Menu item with icon.
5benmcTools.addCommand('bm_OpticalGlow', 'nuke.createNode("bm_OpticalGlow")', icon="bm_OpticalGlow_icon.png")

As you can see, it’s pretty easy to add icons anywhere in Nuke to improve your, and your team’s user experience.
If you want to make creating high-resolution icons for nuke easier, check out my Nuke Icon Design Toolkit.