Automatically matching a plate's rack focus.
Compositing CG renders into a plate with a rack focus can sometimes be tricky to get right. However, your defocus has to match perfectly, otherwise the illusion falls apart! Manually creating keyframes and adjusting curve slopes can be a bit cumbersome, so I thought there had to be a better way to approach this. In this tutorial, I will share what I came up with!
We can learn a lot about what our CG needs by taking cues from our plate, and matching defocus is no exception. We can look at the size of our plate's bokeh shapes, or how soft high-contrast edges are for reference. Animating a rack focus is a natural extension of this!
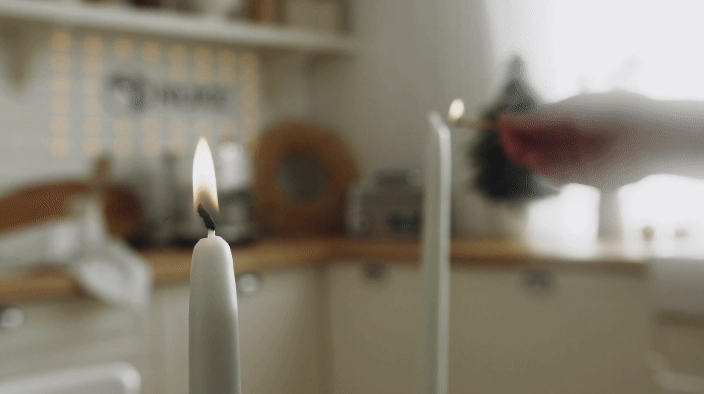
For this tutorial I will be using this plate from Pexels, and will be adding a logo to the back wall.
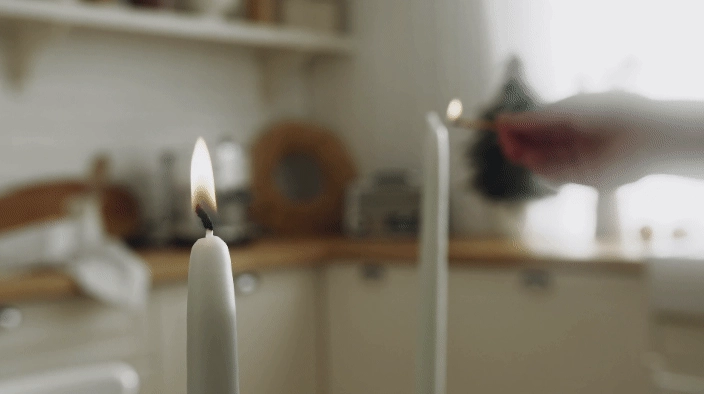
To start, we want to find a contrasty area in the plate. There are a handful of spec highlights we could use, but not all plates have this much detail, so let's make life a bit more difficult for ourselves and use the wooden spoon and cutting board against the back wall, screen-left. We'll need to stabilize this area to isolate the rack focus' motion, which looks like this:

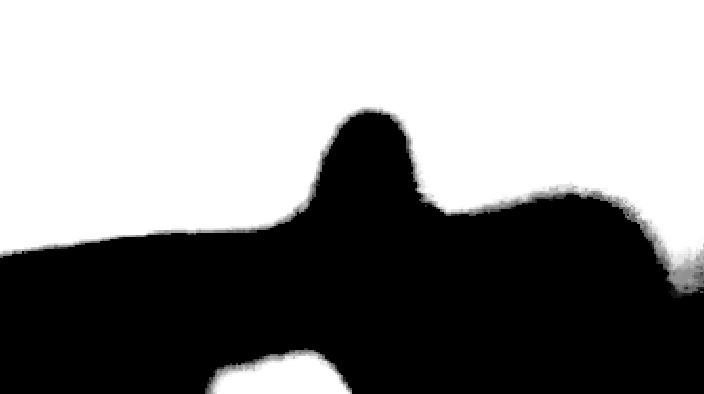
Looking at the blue channel and boosting the contrast_ (pictured above) shows us a fairly defined hard inner-edge & soft outer-edge, which contracts as the BG shifts to be more in focus. We need to find a way to analyze this data... While we can't track the change in size of an edge, we _can track position, so let's desaturate and crunch the image to within an inch of it's life.
By removing all the mid-tones from the image, we're forcibly creating an edge that travels without our plate's rack focus. We can track this!
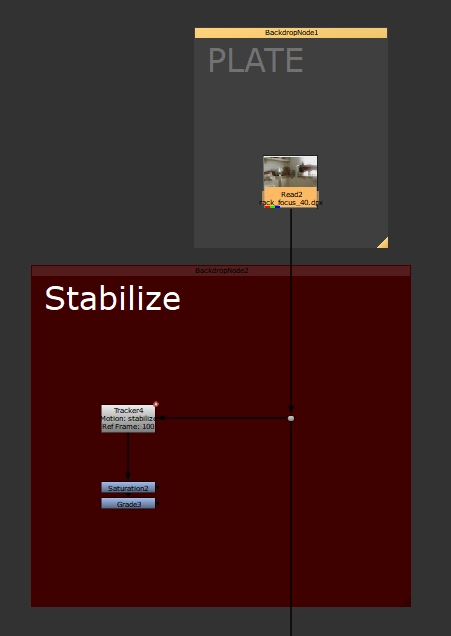
Our Nuke script so far…
Because there's MPEG artifacts in the plate, it's going to be pretty noisy, so let's add a small blur before the saturation to ensure our track isn't too jittery.

Now we have a fairly defined point! Let's track it.
![]()
See that translation in Y? That's data we can use! However it's not as simple as just plugging it in...
Let's check out the Tracker's Y-translate knob in the Curve Editor. Even though we pre-blurred our crunched image, there's still a lot of jitter, and our values range from -10 to 0.5. Plugging that into a Defocus node won't help.
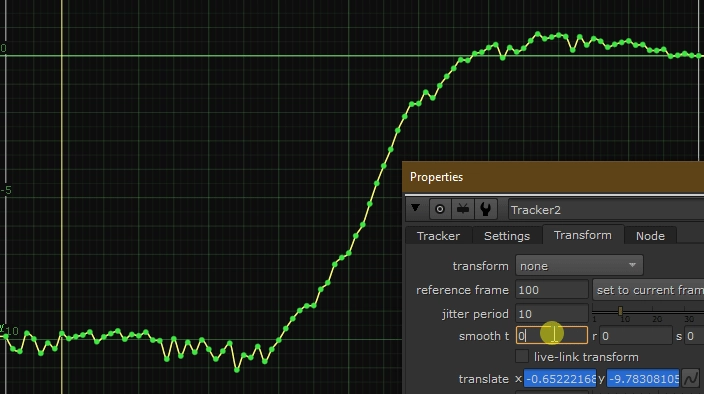
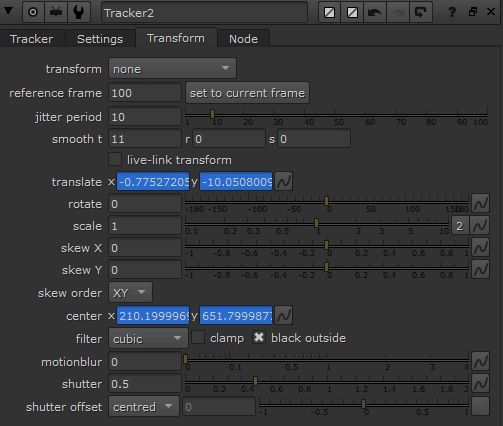
We can smooth our Track in the tracker itself -- handy! However, tread as lightly as you can with this, as the more you smooth the curve, the less fidelity you will have in your matched rack focus.
Next, we can use a handy gizmo I made, bm_CurveRemapper, to remap our animation curve to some more sensible values.
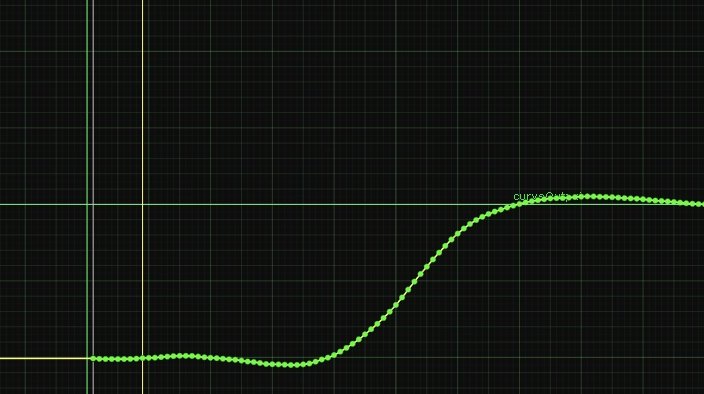
Adjusting the new minimum and new maximum knobs to remap the curve.
Before we play with this too much, let's expression-link bm_CurveRemapper's Output knob to a Defocus node, add the defocus to an element, and do a simple A over B comp.
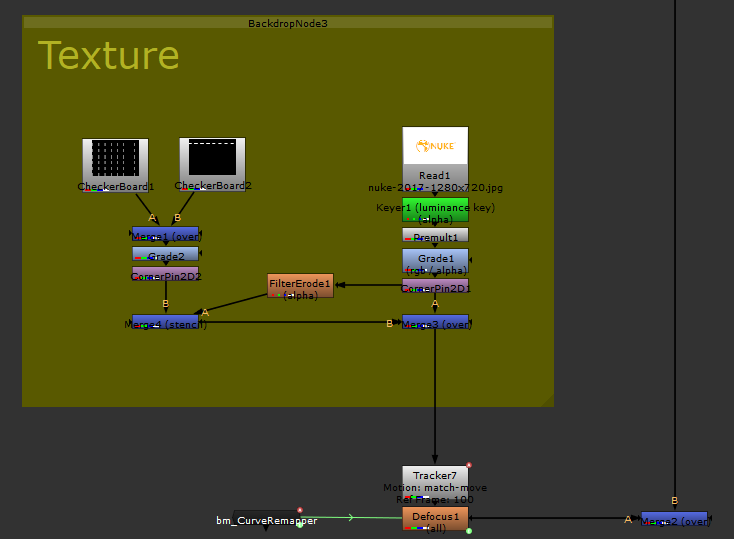
Note: I’m using the Defocus node here as it’s fast, and we don’t have a zDepth pass. However, this technique will still work with pgBokeh, OpticalZdefocus, or any of your other favourite defocus nodes.
You just need to add bm_CurveRemapper’s output to the focal plane knob, and adjust your curve’s new min & max values accordingly…
Let’s keep things super contrasty so we can see what’s going on…
The above image is what we get out of the box -- unsurprisingly no defocus. But if we match the defocus levels using bm_CurveRemapper's New Minimum & New Maximum knobs on the most-defocused & least-defocused frames, everything in between will animate as expected!
a_comp_with_issues.%04d.exr
Pretty simple, right? We should also add some FG holdouts, which we can re-use our fancy defocus on.
It's important to keep in mind that this technique is not a silver bullet. Sometimes it might just work, other times you may need to tweak the animation curves to get a perfect result. Ultimately, it's a great starting point to save some time!
You can download a Nuke script of the end result, and all the resources to play with using this link.