Create your own Ambient Occlusion in Nuke, using RayRender.
When integrating CG characters into a plate and something seems not-quite-right, the first solution I look towards is adding more occlusion shadows, often referred to as "Ambient Occlusion". Occlusion shadows help ground our CG characters and really connect them with the environment & live-action characters around them.
Most physically-based render engines are capable of rendering occlusion shadow AOVs, which are quite accurate when given photometric lights, but sometimes mathematically real and visually real isn't the same thing...
When lighting's occlusion pass doesn't quite give you what you need, it's time to break out the RayRender node in Nuke to add some of your own occlusion shadowing!
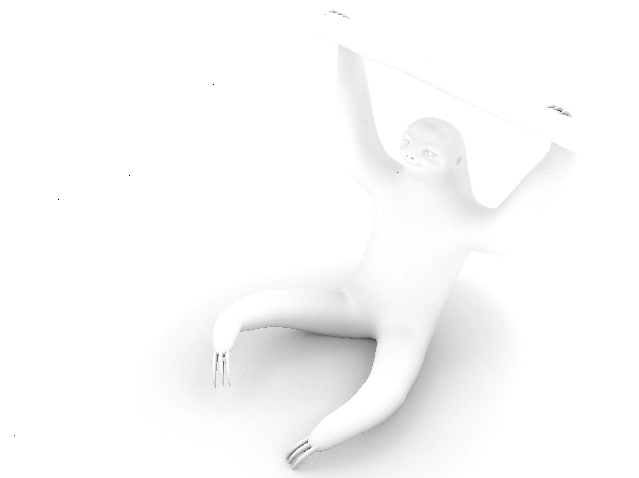
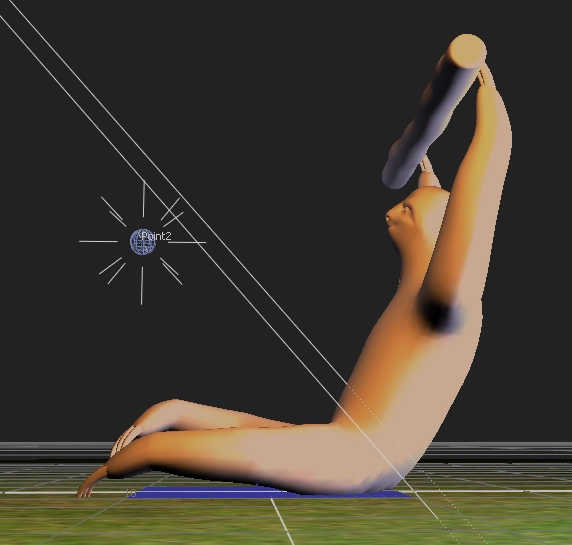
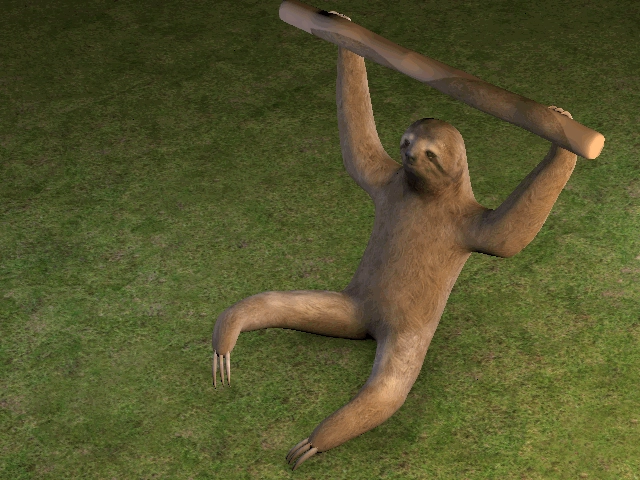
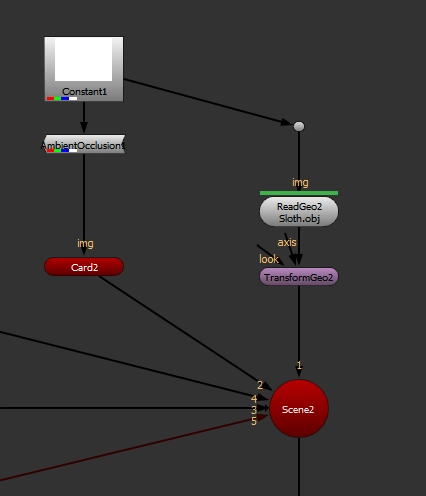
To demonstrate, I'm going to be using Seymour the Sloth, whom I met at Free3D.com. I'm putting him in a simple 3D scene:
Which looks like this:
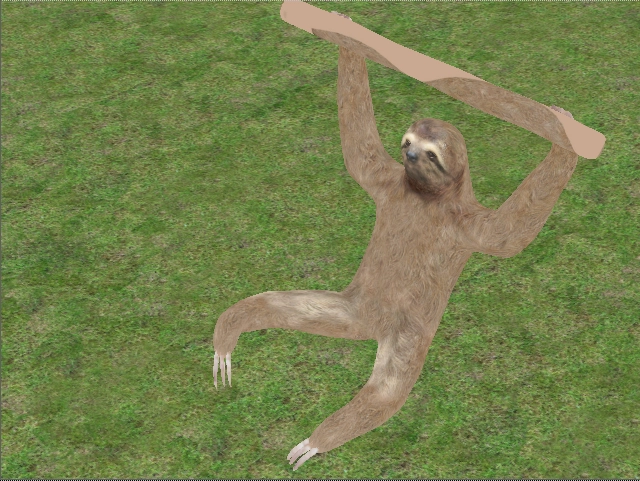
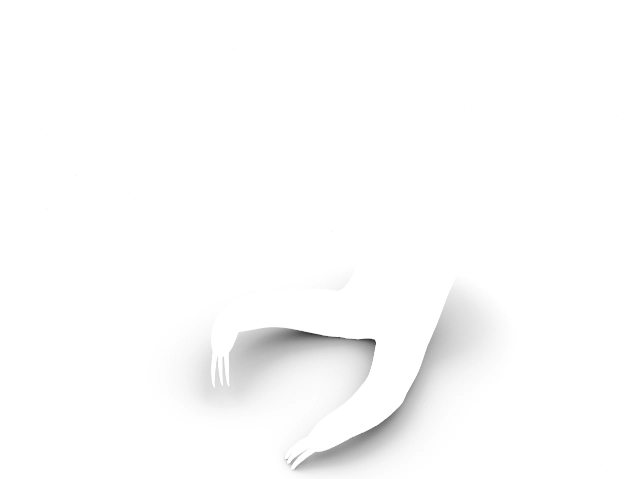
Well that's a very diffuse looking sloth. We're not miracle workers here, but we've got standards. Let's attempt a simple three-point lighting setup in Nuke...
Seymour looks happier already! This is much easier on our eyes, although Seymour looks like he's floating above the ground. Upon checking the 3D viewer, this is definitely not the case:
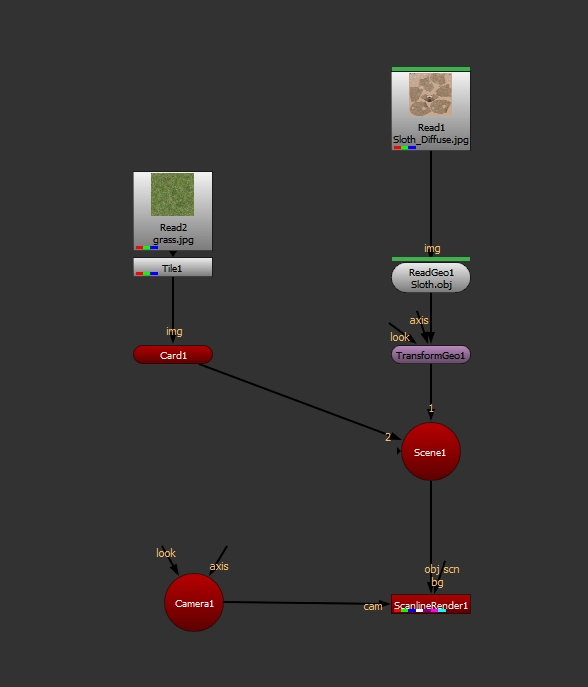
This is where occlusion shadows come in. Unfortunately, the ScanlineRender node doesn't allow us to create them, but the RayRender node, being somewhat Raytraced and all, does!
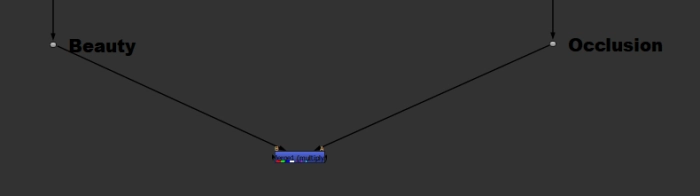
We want to keep our "beauty" render set up here, but let's duplicate the setup and use the RayRender instead of ScanlineRender.
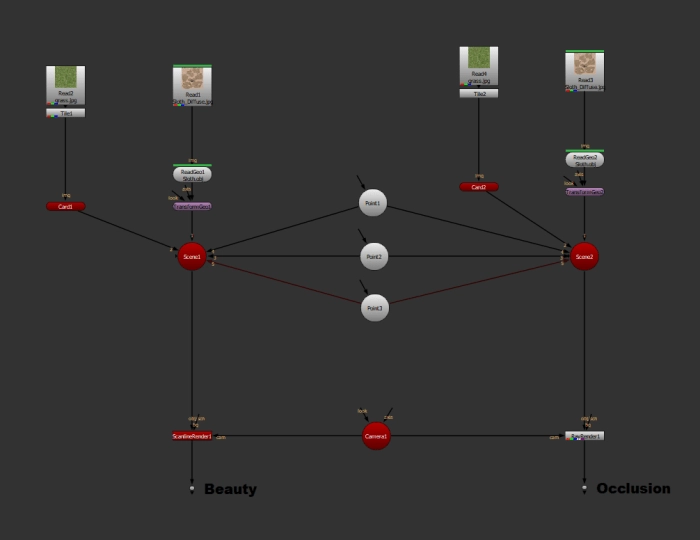
The output of both of these renders currently looks almost identical, but let's change that. In our RayRender setup, let's use a white Constant with a solid alpha channel instead of the textures on our geo. Let's also add an AmbientOcclusion shader underneath, like so...

This is what the result of the RayRender currently looks like:
Well, it's kind of a mess. Let's take a look at our settings:

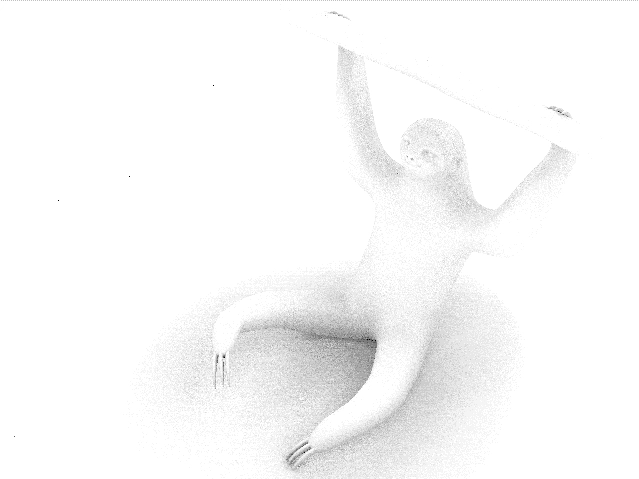
In anything related to Computer Graphics, if there is too much noise, the easy solution is to increase the samples. Because we're in control, let's treat ourselves to 128 samples!
Oh yeah, that's the stuff. Seymour is pretty happy with how this is going, too...
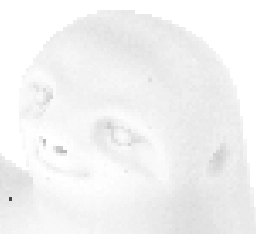
You probably noticed a couple of black pixels around the place. Feeding the RayRender with more subdivisions in your geometry helps this, which we can do for the ground, but can't do for Seymour.
Just like the ScanlineRender node has a samples knob, the RayRender node has a stochastic samples knob. Same thing, but different math. Stochastic sampling is, very simply, sampling our scene in random spots. Here's a way more complicated white-paper, if you're interested in learning more...
You'll notice that increasing the stochastic samples improves everything about our image, notably Seymour's edges, but rendering becomes exponentially slower. It's worth balancing the RayRender's stochastic samples vs. the AmbientOcclusion shader's samples to find the right balance of quality vs. speed. Now, back to Seymour...
So we have our beauty render and our fancy occlusion pass. All that is left to do is to multiply the two together!
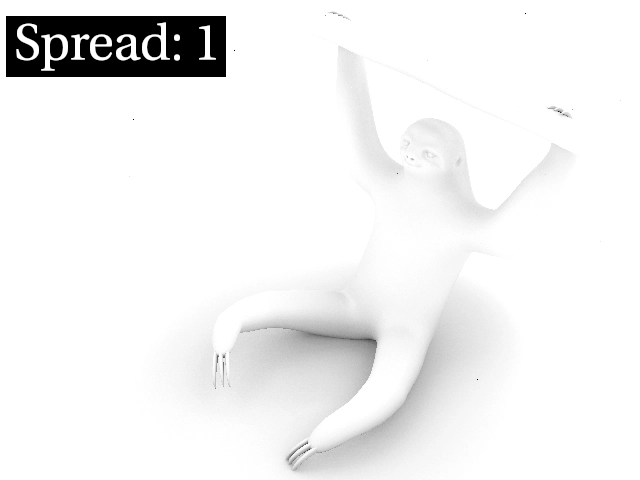
The occlusion is already helping, but it would look better if we had less spread on the shadow, and more density where his butt and claws meet the ground.
In the AmbientOcclusion shader, I'm going to change the spread from 1 to 4.
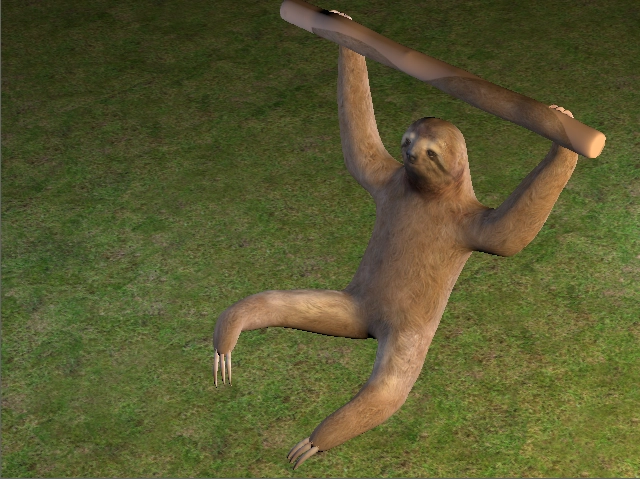
Notice how the shadow becomes more defined, and localized? This is totally what we're after. Let's check out our final result!
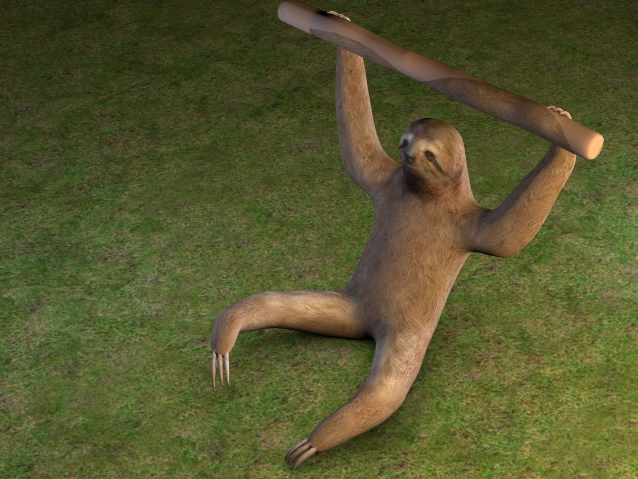
Seymour definitely looks connected to that grass now!
Although, in a case where we're using RayRender to add occlusion shadows from a CG Character into a plate, we would have to tweak some things. In this example, Seymour is casting occlusion shadows onto himself... We really just want the groundplane with shadows, and that's it.
Thankfully, just using the white constant without the AmbientOcclusion shader as Seymour's texture gives us this result!
Voila! Occlusion shadow on the ground only.
I hope this simple technique helps you next time your VFX Supe says: "your CG character needs better connection to the plate"!