Back to Basics: A Brief Lesson on Image Filtering & Node Concatentation

Image filtering is a necessary step in many tasks we do in computer graphics, but it often gets little cognisant attention from Compositors. When mentoring junior artists' recently, I discovered they rarely know of this fundamental knowledge at all! So I thought it would be beneficial to write this article so we can brush up on the basics, maybe learn a new thing or two, and have a resource to point others' towards if they're stuck with this concept.
Image filtering algorithms exist to help us define what happens to our pixel values as we transform & process our images. In this article, we'll break down all the image filters we have available, and what they're doing to our images in Nuke, with the help of our good friend Marcie.
Let's start out this example by looking at what happens when we use the Impulse filter, otherwise known as the "please don't filter my pixels" filter. For the following examples, each image has been rotated 45 degrees, 8 times, and therefore has been filtered 8 times to exaggerate the effects.
Impulse
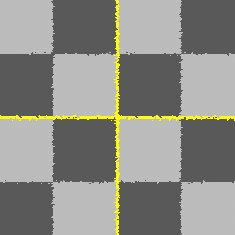
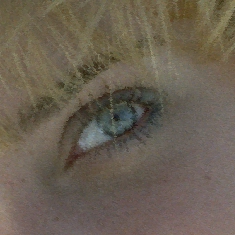
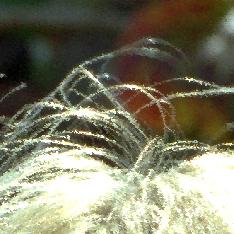
Well, this looks awful, and isn't useful at all... Except that sometimes it is! Do you ever clone paint and get soft grain? By checking the "round" checkbox, and using the Impulse filter, you'll maintain your grain fidelity, because you're only painting whole pixels.
Cubic
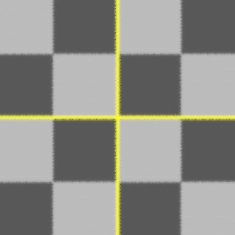

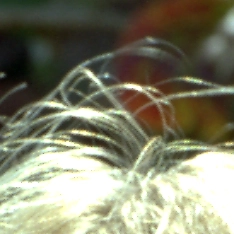
Nuke's default filter. I haven't met anyone who could tell me why it's the default, but my guess is because it produces the most predictable results, most of the time, without any offensive softening/sharpening artifacts occurring.
Cubic smooths the image a moderate amount.
Keys
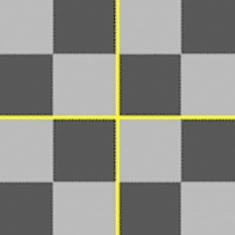

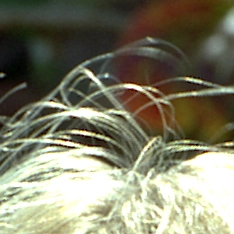
Keys smooths the image a moderate amount, and sharpens a low amount.
Simon
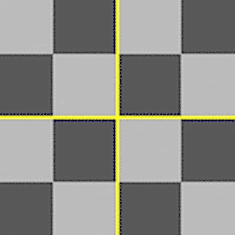
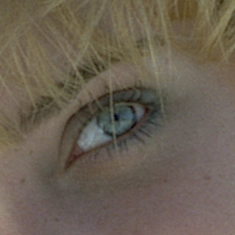

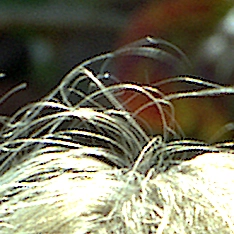
Simon both smooths & sharpens the image a moderate amount. A lot of Compositors use this filter when needing to find that extra bit of sharpness in their plates, as it seems to have the best sharpening with the least artefacting, so long as there are no super hot values beside darker values (as you can see in Marcie's hair above). However, there is a fix for this, which we'll touch on below these examples.
Rifman
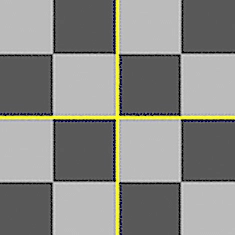
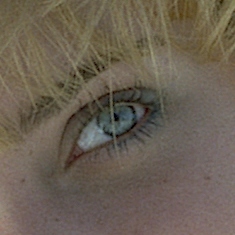
Rifman smooths the image a moderate amount, and sharpens a high amount.
Mitchell
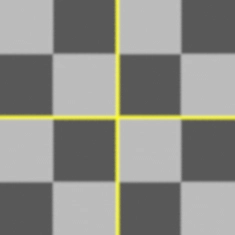

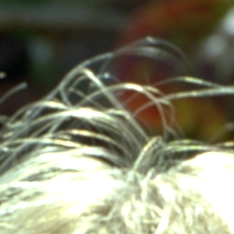
Mitchell smooths the image a moderate amount, sharpens a very low amount, and blurs the image to hide pixellation.
Parzen
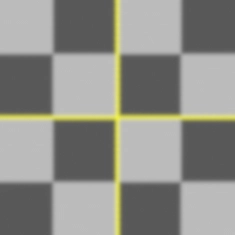
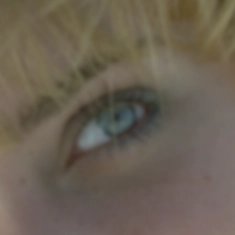

Parzen smooths the image a high amount. I can't say I've ever used this filter...
Notch
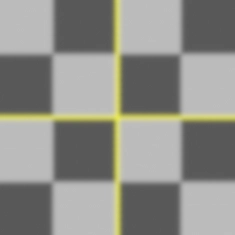


Notch smooths the image a moderate amount, although in a different way to the other filters. It's useful for munging together pixels to smooth out buzzing edges & moiré patterns.
Lanczos4
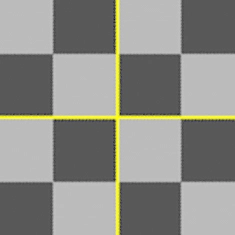
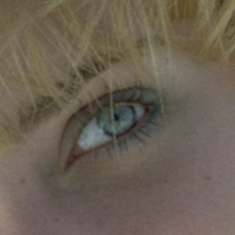

Lanczos4 smooths the image a moderate amount, and sharpens a small amount. The number 4 represents the Lanczos algorithm filtering over 4 pixels.
Lanczos6
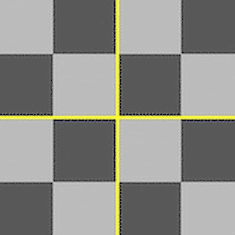
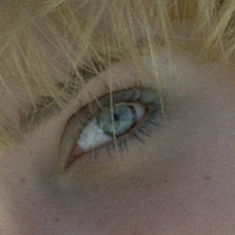
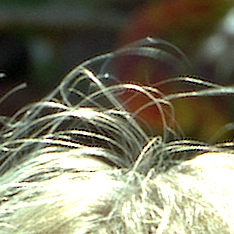
Lanczos6 smooths the image a moderate amount, and sharpens a small amount. The number 6 represents the Lanczos algorithm filtering over 6 pixels, which subsequently makes it appear sharper vs. Lanczos4.
For instances where Simon doesn't produce ideal results, Lanczos6 is my go-to image filter, especially when having to Reformat plates.
Sinc4
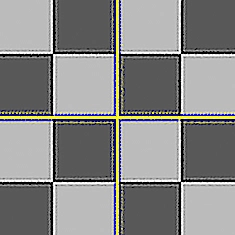
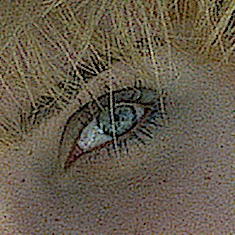
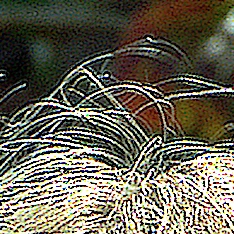
Sinc4 provides your image with super sharpening -- it's easily the most heavy-handed of all the filters.
As you can see, when an image filtering algorithm sharpens an image, we get some nasty black halos around areas of high contrast. The solution is to convert the image to a logarithmic colourspace, do your transforms/image filtering, and then convert back to linear.
Concatenation
Node concatenation simply means like-minded nodes will process their data only once as a collection of ingredients forming a final result, rather than one node at a time. Rather than taking multiple steps: 5+10 = 15, 15+2 = 17, 17+8 = 25; We're doing all the calculations at once: 5+10+2+8 = 25. Much more efficient! This is particularly crucial in Compositing, as we want to filter our images as little times as possible!
For example, when you Read in a smoke element to add to your comp, the first thing you should be doing is adding a Reformat, so it matches the format in your project settings. This Reformat node is filtering your image once -- cool. Next, we might want to introduce an alpha channel, so we'd add a Keyer node so that luminance == alpha. Then we want to Transform it into place, Grade the smoke to look right, track it into our shot, etc. But, that's actually the incorrect order of operations...
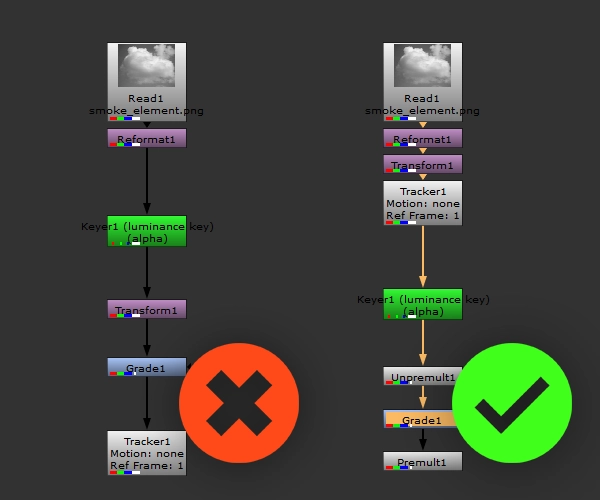
The image on the left is what was just described, whereas the image on the right is the correct way to set up your comp. Notice how the 3 nodes handling image transformation are all grouped together? Nuke is smart enough to combine the Reformat, Transform & Tracker nodes into one process, so we only filter our image once.
Let's try another exercise to demonstrate this more clearly. I have Marcie in Nuke, I'm scaling her down to 10% the size, and then back up to regular size. With the setup below, everything is concatenating, and Marcie looks exactly the same as the original image!
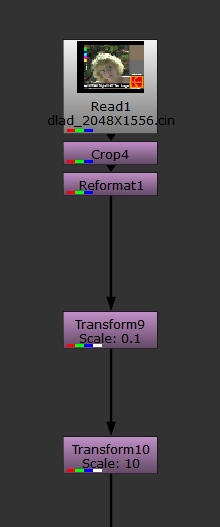
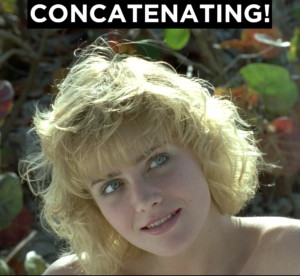
Although in the second setup below, our concatenation is being broken by a pesky Grade node. As you can see, our Transform nodes are scaling exactly the same amounts, although the image that gets output is vastly different.
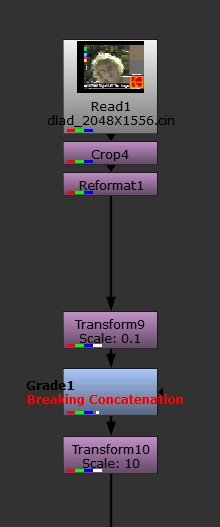
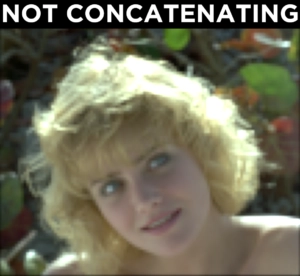
It's important to note, the filter & motionblur of all these concatenating nodes would be set by the bottom-most node -- Transform10 in this example. If all the nodes had motionblur turned on, but Transform10 didn't, there would be no motion blur applied to the image.
Further Resources
- Foundry's documentation on image filtering
- Foundry's documentation on node concatenation
- An interesting video on the math behind image filtering, as it applies to blurring.