Easily control CurveTool's output to help match constantly-changing lights in your plate
A common problem we face in visual effects is what DoPs might refer to as "dynamic" lighting; aka light sources that change colour and intensity throughout the shot. It makes our images look more interesting, but adding any VFX to these plates instantly becomes more complex. Common examples include flashing police lights, in-camera lens flares for dramatic effect, and shots lit entirely by flashing neon lights or a fire. The latter is most complex to manually animate, so it will be the example I'll use in this article.
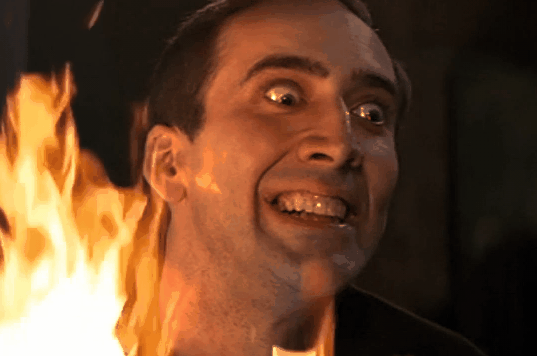
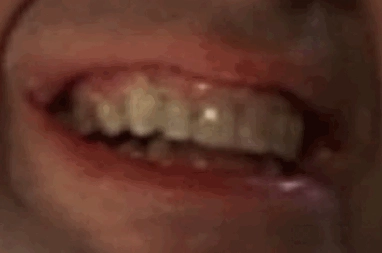
I've pulled some images off the web to demonstrate. We have our night-time fire element which we will consider as our plate, and Nicolas Cage; everyone's favourite actor. Our goal is to add the flickering fire light from the plate onto our character, to better-integrate him into our scene.

To start out, I've zoomed in on the fire element so we don't see the logs, and prepared our character by removing some of the spec highlights from the image. The light source on Mr. Cage would be our fire and should modulate as such (for CG characters, you would "from" the specific fire per-light AOV, add the flickering, and then plus it back in).

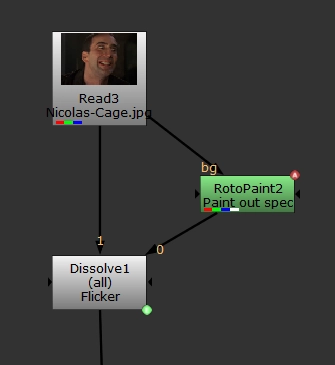
I have created a Dissolve node to link our character and our spec-removed character. But animating this by hand is tedious and not very accurate. Let's bring in the CurveTool to help automate this!
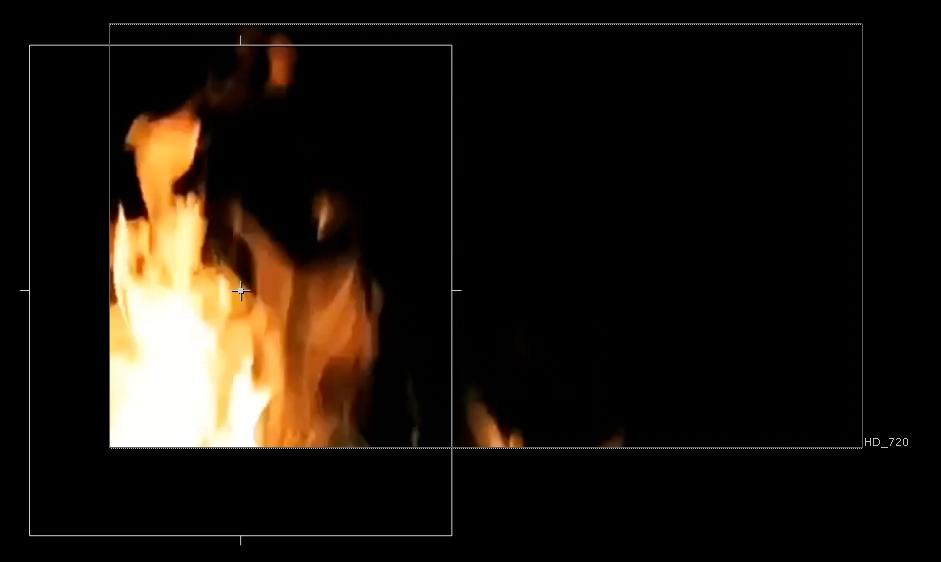
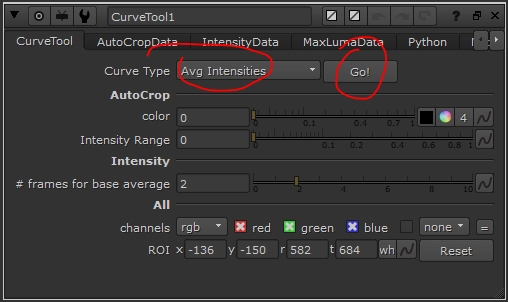
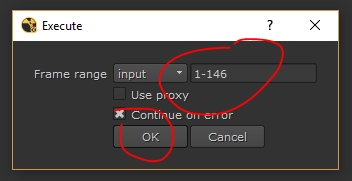
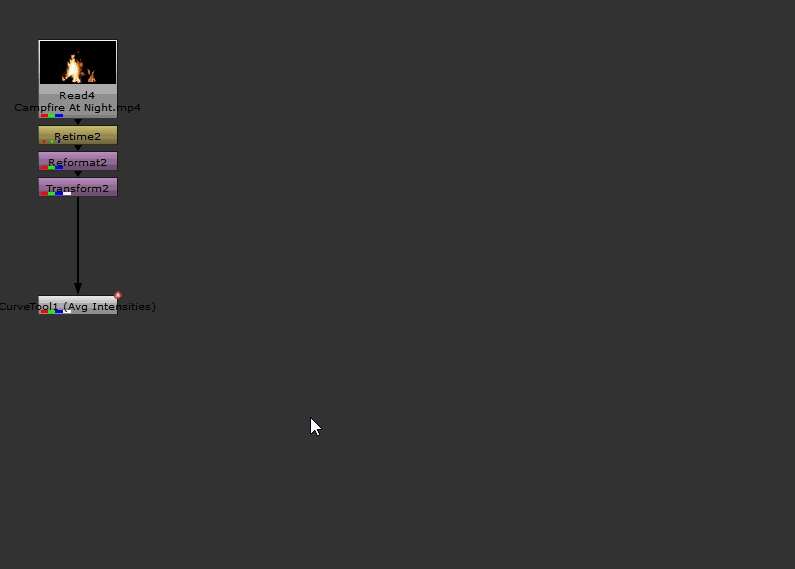
Drag your region of interest (ROI) to cover only the areas of the flickering fire. The more black we include, the more-averaged and less-accurate our results will be. Make sure the CurveTool is set to "Avg Intensities", hit the "Go!" button, double check the Frame Range matches your plate's, and hit the "OK" button.
Once CurveTool has worked its magic, you should have some animated values in the "IntensityData" tab. This data represents the average pixel value in the red, green and blue channels on each individual frame. Expression-link this value to a constant node and playback the output for a more visual representation...

This data is already quite valuable, although in my experience, isn't very accurate to what we need to do with it, and also isn't very controllable. Clients are picky and want to see precise notes being addressed, so maintaining that control and flexibility is a must!
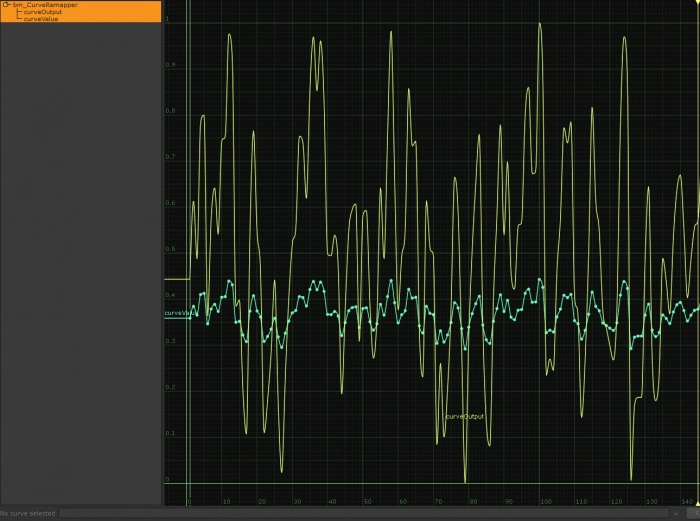
I created a gizmo to solve this problem, called bm_CurveRemapper. It takes any animation curve, finds the minimum and maximum values with the press of a button, and then remaps those minimum and maximum values to whatever you'd like! This gizmo expects baked keyframes vs. expressions , so make sure you're shift+dragging, instead of ctrl+dragging (link via expression). In this example, I specifically want the red channel data (our fire is warm/mostly red), so I'm going to copy/paste via the right-click menu, as it's just easier & more specific.
Here's a before and after of what our animation curves look like.
Now we can expression-link the "Output" value to our previously-created Dissolve node to flicker the spec!
That's the hard work done -- marvellous! But we're not quite finished yet... We should paint some orange light onto Mr. Cage's face & add some ambient light flickering via a RotoPaint node as a mask in a Grade node, and by expression-linking bm_CurveRemapper's Output curve to the Grade node's mix knob, like so:

Check out the result!

Remember how I mentioned that it's important to remain flexible? That's where bm_CurveRemapper comes in handy. Rather than relying upon the CurveTool's arbitrary data, we're able to be very specific with our colours, and let the CurveTool animate the on/off state instead. We can also adjust the "New Minimum" and "New Maximum" sliders to easily increase/decrease the amount of flicker!

Let's have a bit of fun and finish the shot. I've:
- Added fire reflection to Mr. Cage's eyes
- Removed any warmth from the plate, so we only get warm light from the fire
Here's our magnificent creation!
If you find this gizmo useful, please reach out and let me know how else you're using it, and how it could be better!