Deconstructing Despill Algorithms

Despilling is arguably the most important step to get right when pulling a key. A great despill can often hide imperfections in your alpha channel & prevents tedious painting to manually fix edges. You're already aware that keyers like Keylight, Primatte, IBK, etc. despill your image, but what happens if their results are coming up short? It's absolutely worth your time to dig into some maths & understand how despill algorithms work, and how you can implement them using the Expression node in Nuke.
I grabbed the following greenscreen plate from videvo.net to use for this demonstration.

This is a lesson on despill algorithms, but before we get started, it is important to re-iterate a few points. To pull a great key, you must have both a clean & accurate alpha channel as well as a good despill -- they're absolutely reliant on one-another. Secondly, when refining your key, you should ideally have your background elements composited & already in place -- background luminance being the most important part. This helps you better understand the requirements of your key, what the biggest challenges will be, and where you can get away with things. Although in production, it's often likely that you need to start a key with a temp background image/DMP/render, so we're going to be working with the worst-case scenario where we have no background plate at all, and have to prepare the key regardless.
The best place to start when keying a shot is on the frame with the most motionblur and/or the most defocused edges. These are the most difficult areas to key; when you get a good result on these frames, you can be confident that the rest of the key will fall into place with relative ease. A good way to see these difficult areas is to simply crank the saturation, like so:
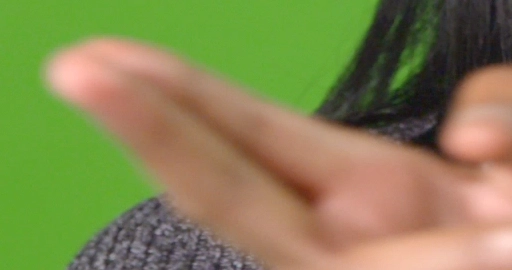
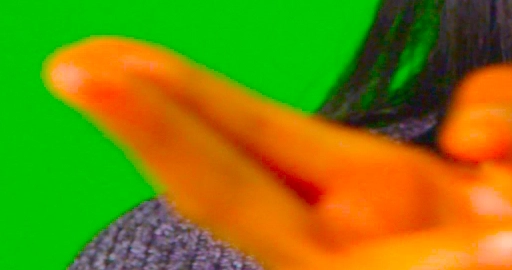
Any areas that should be transparent (bright green parts of her hair), and any areas you see colour fringing (her defocused & motion-blurred fingers) are where you need to focus when despilling for optimal results.
The thought process behind most despill algorithms is they're adapting existing information from your colour channels, and processing it in such a way that removes the green hues without affecting the natural tones in your plate. They can also be used to create a matte, which is used to control the luminance of your edges. Let's get into the maths!
The following algorithms are working on a per-pixel basis on the Green channel only, via an Expression node.
g>((r+b)/2)?((r+b)/2):g
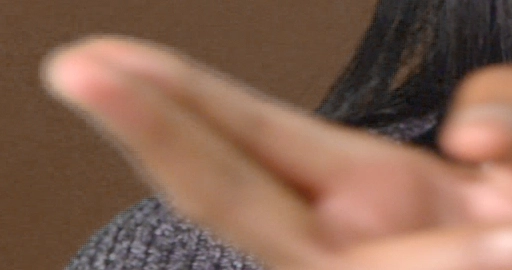
Here, we're checking to see if the Green channel is larger than the average of the Red and Blue channels. If yes, we use the result of averaging the Red & Blue channels. If no, we use the existing Green channel.
g>(2*b+r)/3?(2*b+r)/3:g
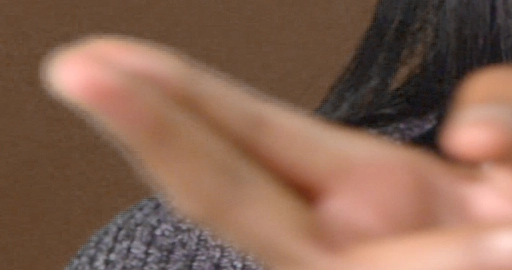
Similar concept to AVERAGE, except we're doubling the contribution of the Blue channel. For bluescreens, we would re-arrange the algorithm & double the contribution of the Green channel instead. This algorithm is checking to see if the value of the Green channel is higher than the result of 2x the Blue channel plus the Red channel. If yes, it uses the result. If no, it uses the original value in the Green channel.
g>(b+2*r)/3?(b+2*r)/3:g
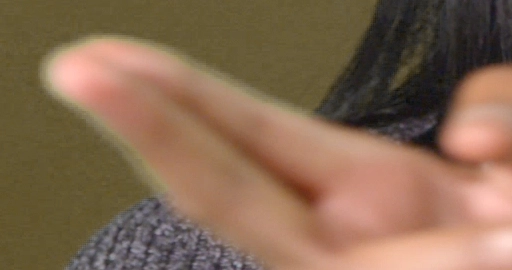
This one is similar to DOUBLE BLUE AVERAGE, except instead of doubling the Green channel, we're doubling the red. In English, this algorithm is checking to see if the value of the Green channel is higher than the result of the Blue channel plus 2x the Red channel. If yes, it uses the result. If no, it uses the existing values from the Green channel.
g>b?b:g

Much simpler than the rest, this algorithm is saying: If the Green channel is greater than the Blue channel, use the values from the Blue channel. If not, use the existing values from the Green channel. As you can see, this specific despill algorithm turns things a bit too dark and a bit too red. In some cases this might work for your shot, but generally you'll need to restore the luminance from the plate to make this look normal. I'll elaborate on how to do this at the end of the article.
g>r?r:g
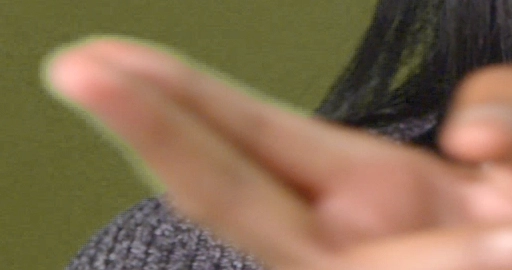
Same as BLUE LIMIT, although using the Red channel instead. This algorithm is checking to see if the Green channel is greater than the Red channel. If it is, it uses the values from the Red channel. If not, it uses the existing values from the Green channel.
Let's compare all our despill algorithms full-frame for a better picture.

These are the 5 most-common algorithms that you'll find produce the best results. It's difficult to say which algorithm is best in any situation, but having them all in your arsenal allows greater flexibility when keying a variety of shots. Although, this isn't the end...
You'll notice the results make the background (which will be the same colour as our edges) turn dark. This is great if we're compositing the lady into a darker environment, but what if she is supposed to be outside in direct sunlight? You'll see dark lines around her edges. Thankfully, this is an easy fix!
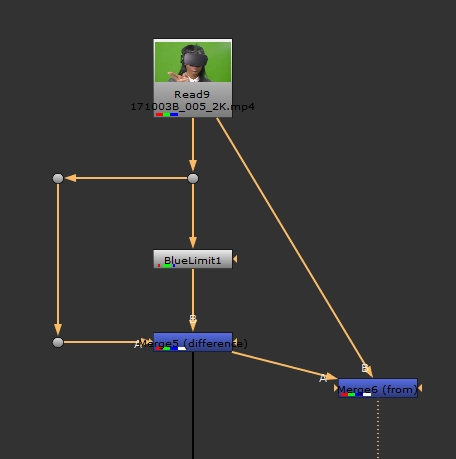
The BLUE LIMIT algorithm is the darkest and produces the least-desirable results as-is. Let's take that Expression node, and hook it up to our plate. Next, create a merge node with the A pipe connected to the plate, and the B pipe connected to our Expression node holding the despill algorithm. Set the operation to Difference. For clarity, here is a picture of the node graph & the result it produces.
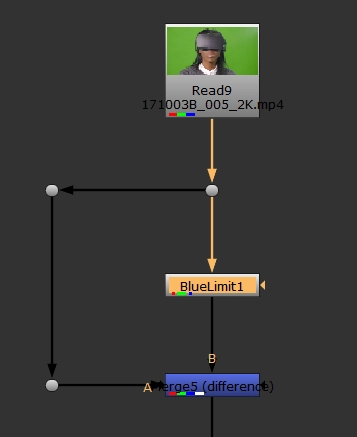
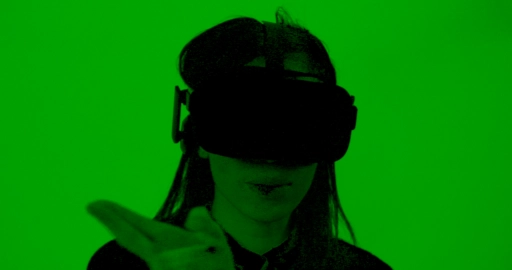
We've simply found the difference in values between our despill and our plate, which shows us exactly what is being despilled. Now that we have this, we can manipulate the despill in all sorts of ways!
If you From this result from the plate (pictured below), you'll get the same despilled result as the Expression node.
Now, let's work on restoring the luminance from the plate. Create a Saturation node after our Difference, and set the saturation value to 0, so our green image turns to greyscale. Then, let's Plus this result with the despill. That's it!
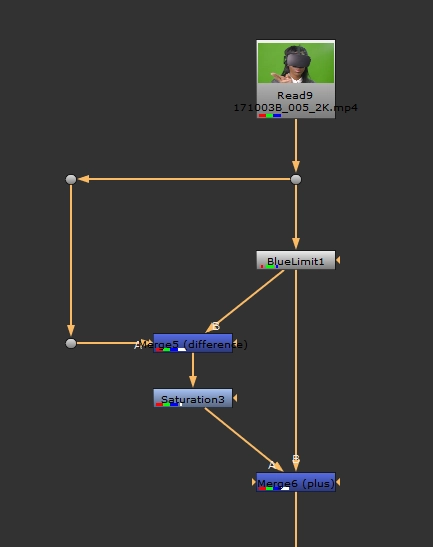
Here is a comparison of the despill algorithm by itself, and what happens after we've restored the luminance.

It's gone from looking overly red, to being much more accurate! As an added positive side effect, we're restoring a lot of detail into the lady's skin, and maintaining the fidelity of the plate's grain by doing this. Although sometimes, this still isn't enough to give you an accurate result.
If you add a Grade node after the Saturation node we previously created, you can adjust the brightness, hue & saturation of your despill to easily balance your keyed foreground plate to your background plate. Instant disco!

Lastly, if your background plate has a wide variety of colours & luminance, or if none of the above works and you're at wits end, there is one last thing to try. You can multiply a blurred version of your background into your desaturated luminance matte, as pictured below (I'm using a colorwheel for convenience).
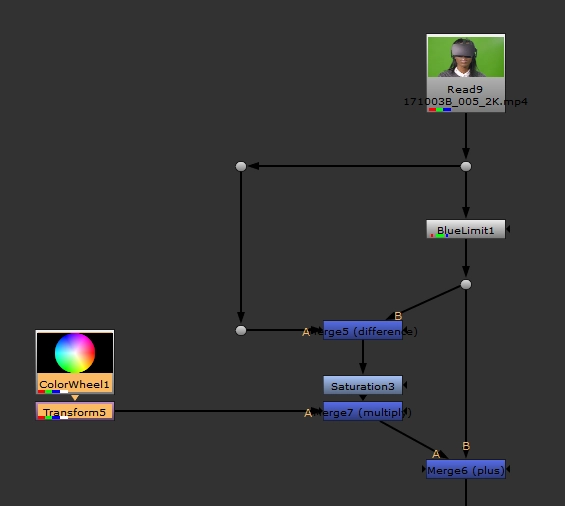

This technique of restoring luminance isn't just restricted to our despill algorithms outlined above. Try replacing the expression node with Keylight, IBK, or your favourite keyer with built-in spill suppression, and see how it changes your result.
I hope this information finds a home in your toolkit, and saves you some tedious edge paint. Happy compositing!